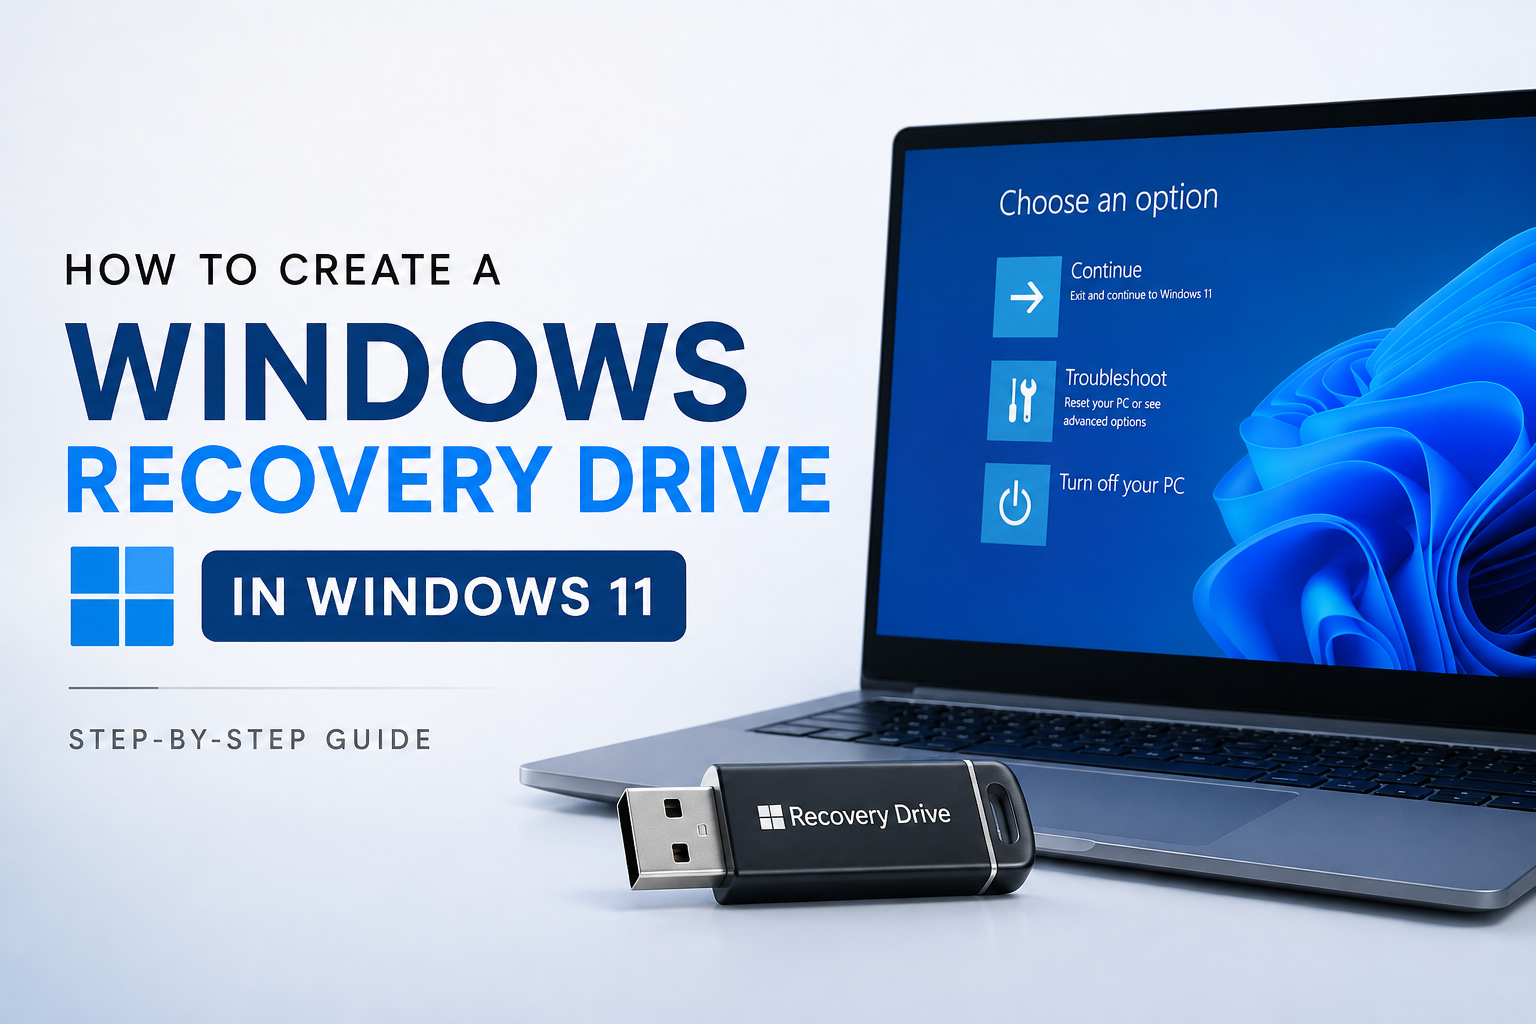

Windows problems can happen without warning. Whether it’s the Blue Screen of Death (BSOD), a severe malware infection, startup errors, or a failed Windows update, these issues can sometimes prevent your PC from booting normally. In situations like these, a Windows Recovery Drive can be a lifesaver.
Unfortunately, many Windows users are unaware that this built-in tool exists. A Recovery Drive allows you to access advanced recovery options to troubleshoot startup problems, restore your system, or even reinstall Windows when necessary. According to Microsoft, it can create bootable USB recovery media containing essential recovery tools and, if you choose, the system files required to reinstall Windows.
Creating a Recovery Drive only takes a few minutes, but it can save you hours of frustration when your computer refuses to start. In this guide, you’ll learn what a Windows Recovery Drive is, what it can do, and how to create one step by step.
What Is a Windows Recovery Drive?
A Windows Recovery Drive is a built-in utility that creates a bootable USB drive containing the tools and system files needed to troubleshoot and recover your PC. It includes Windows recovery tools, the updates installed at the time the drive is created, and any customisations provided by your PC manufacturer. If you choose to back up the system files during the creation process, you can also use the recovery drive to reinstall Windows if your operating system becomes corrupted or your PC fails to boot.
Requirements
Before creating a Windows Recovery Drive, make sure you have a USB flash drive with at least 32 GB of storage, although Windows may sometimes require more space depending on your system. Keep in mind that the USB drive will be completely erased during the process, so back up any important files stored on it beforehand. Also, ensure you’re signed in with an administrator account and keep your PC connected to a power source if you’re using a laptop, as the creation process can take some time.
What Can You Do with a Windows Recovery Drive?
A Windows Recovery Drive provides access to several recovery and troubleshooting tools that can help you resolve serious system issues. Depending on your system and the options selected while creating the drive, you can use it to:
- Repair startup problems if Windows fails to boot properly.
- Access Advanced Startup Options for troubleshooting.
- Restore your PC using a previously created System Restore point.
- Uninstall recent Windows updates that may be causing issues.
- Open Command Prompt for advanced repair tasks.
- Recover your PC using a system image.
- Reinstall Windows if system files were included during creation.
- Reset your PC when other troubleshooting methods don’t work.
How to Create a Windows Recovery Drive in Windows 11
Creating a Windows Recovery Drive is a straightforward process and only takes a few minutes to set up, although the actual creation time may vary depending on your PC and the speed of your USB drive.
Step 1: Connect a USB Flash Drive
Insert a USB flash drive with at least 32 GB of storage into your computer. Make sure it doesn’t contain any important files because Windows will erase everything on the drive during the process.
Step 2: Open the Recovery Drive Tool
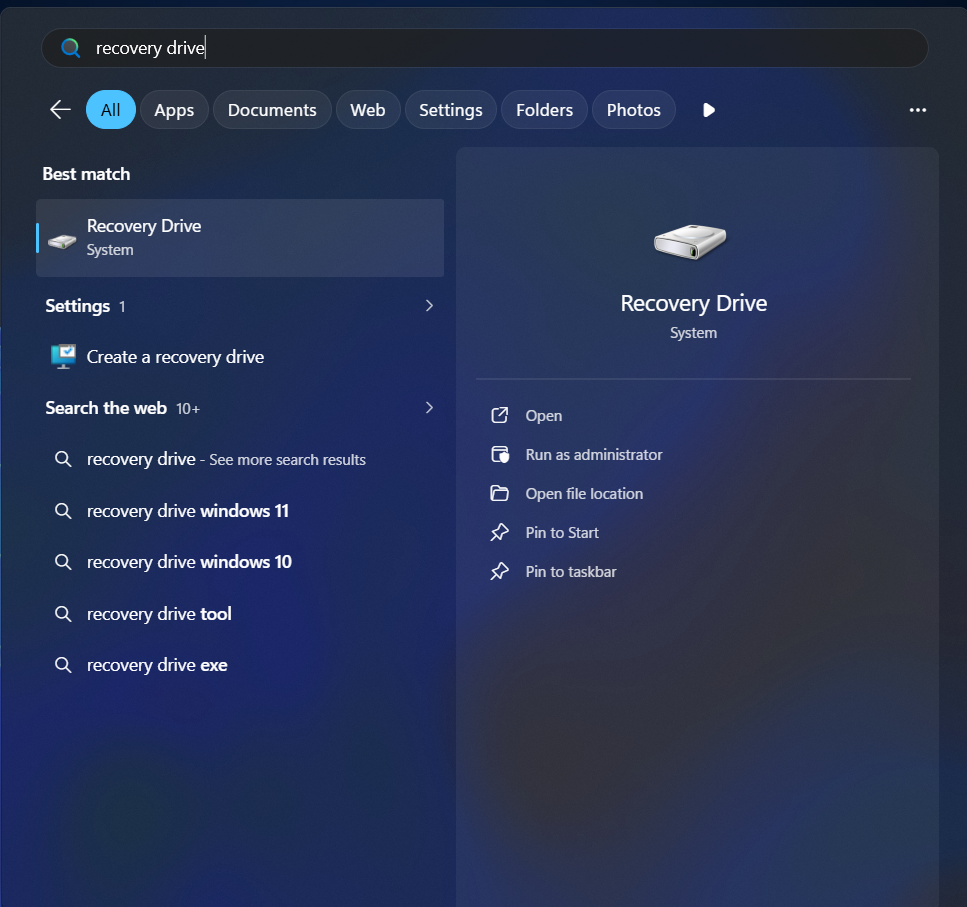
Click the Start button and type Recovery Drive in the search bar. Open the application and click Yes if the User Account Control (UAC) prompt appears.
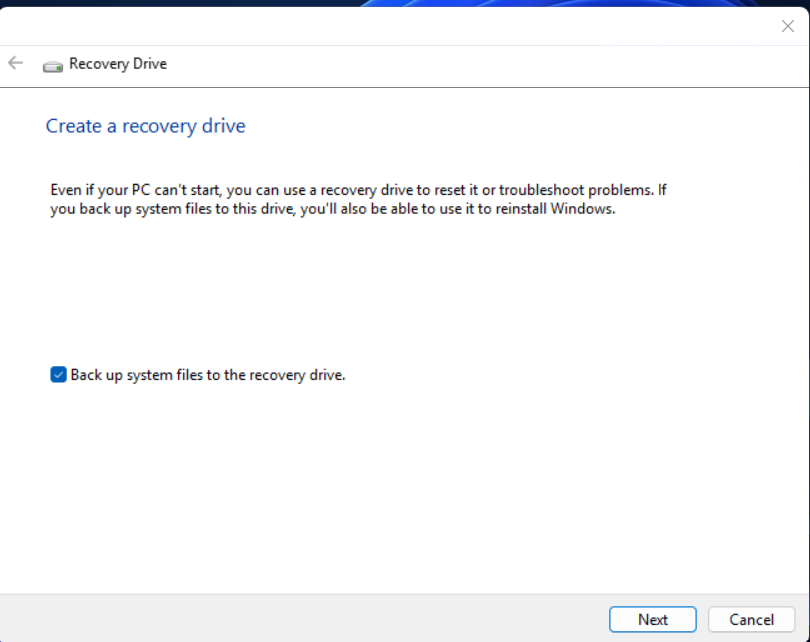
Step 3: Back Up System Files
You’ll see the option “Back up system files to the recovery drive.” It is recommended to keep this option enabled, as it allows you to reinstall Windows if required. Click Next.
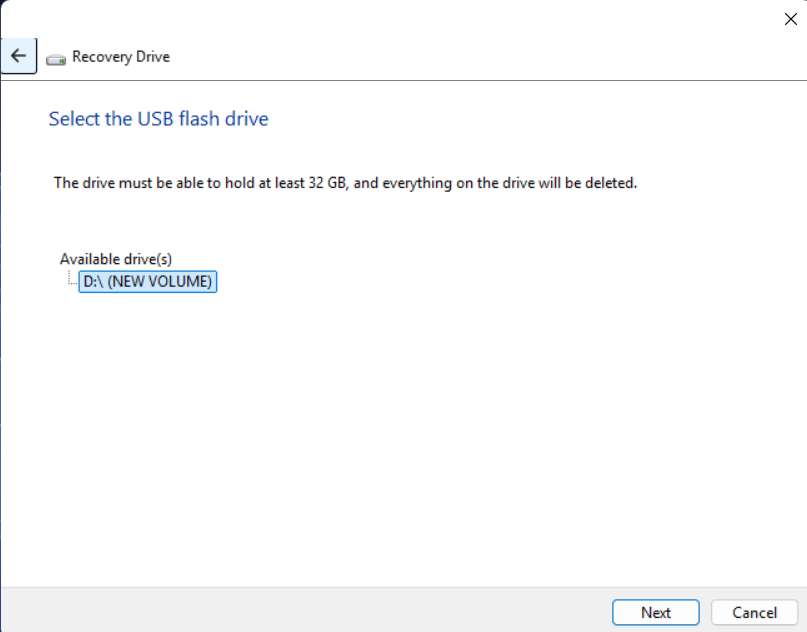
Step 4: Select Your USB Drive
Choose your USB flash drive from the list and click Next.
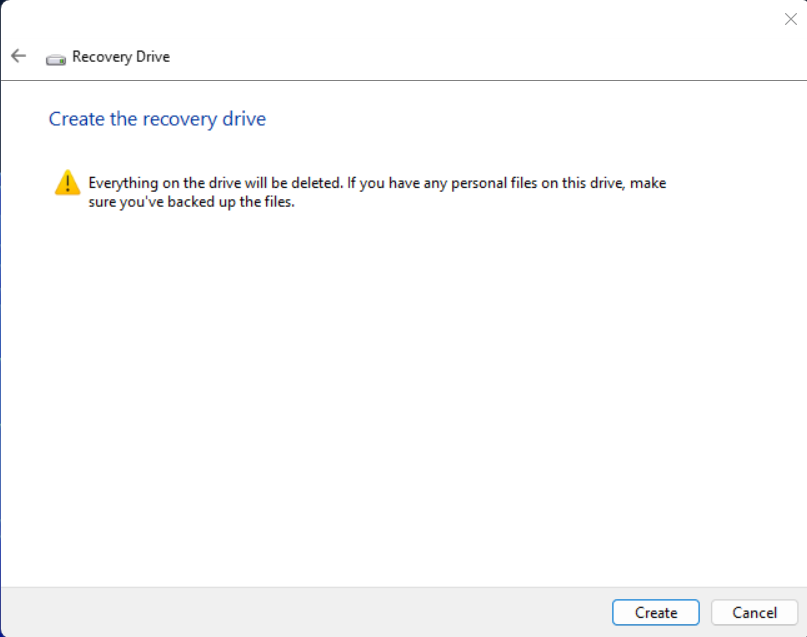
Step 5: Create the Recovery Drive
Windows will warn you that everything on the USB drive will be deleted. If you’ve already backed up your files, click Create.
Step 6: Wait for the Process to Finish
Windows will now copy the required recovery tools and system files to the USB drive. Depending on your system and USB speed, this process can take anywhere from several minutes to over an hour.
Step 7: Finish
Once the recovery drive has been created successfully, click Finish and safely remove the USB drive. Store it somewhere safe so you can easily access it whenever it’s needed.
How to Boot from a Windows Recovery Drive
If your PC is unable to start normally, you can boot from the Recovery Drive to access Windows recovery tools.
Step 1: Insert the Recovery Drive
Plug the Recovery Drive into your computer.
Step 2: Restart Your PC
Restart or turn on your computer with the USB drive already connected.
Step 3: Open the Boot Menu
Press your computer’s Boot Menu key as soon as it starts.
Some common keys are:
- Dell – F12
- Lenovo – F12
- HP – F9
- Acer – F12
- ASUS – Esc
- MSI – F11
Step 4: Select the USB Drive
Choose the Recovery Drive from the Boot Menu and press Enter.
Step 5: Select Your Keyboard Layout
Choose your preferred keyboard layout to continue.
Step 6: Open Troubleshoot
On the Choose an option screen, click Troubleshoot to access Windows recovery tools.
Step 7: Perform the Required Repair
Select the recovery option that best suits your situation and follow the on-screen instructions.
Windows Recovery Drive vs Windows Installation Media
Although both tools can help recover your PC, they are designed for different purposes.
| Feature | Windows Recovery Drive | Windows Installation Media |
|---|---|---|
| Main Purpose | Repair and recover an existing Windows installation | Install or reinstall Windows |
| Recovery Tools | Included | Not included |
| Can Reinstall Windows | Yes (if system files are included) | Yes |
| Best For | Fixing boot and startup issues | Performing a clean installation of Windows |
A Windows Recovery Drive is ideal for repairing and troubleshooting your current Windows installation, while Windows Installation Media is primarily used to install a fresh copy of Windows. Keeping both available is recommended, as each serves a different purpose.
Frequently Asked Questions (FAQ)
Does creating a Windows Recovery Drive delete everything on the USB drive?
Yes. Windows formats the USB drive before creating the Recovery Drive, so make sure you’ve backed up any important files stored on it.
What size USB drive do I need?
Microsoft recommends using a USB drive with at least 16 GB of storage. Some computers may require more space depending on the amount of recovery data.
Can I use the same Recovery Drive on another computer?
A Recovery Drive works best with the computer it was created on. Although it may boot on similar hardware, it isn’t intended to be a universal recovery tool for different PCs.
Should I include the system files?
Yes. Including the system files allows you to reinstall Windows directly from the Recovery Drive if your operating system becomes corrupted.
How often should I update my Recovery Drive?
It’s a good idea to recreate your Recovery Drive after major Windows feature updates or at least once a year. This ensures it contains the latest recovery files.
Can I use the Recovery Drive if my hard drive has been replaced?
Yes. If you included the system files while creating the Recovery Drive, you can use it to reinstall Windows on a replacement drive, provided the hardware is compatible.
What’s the difference between a Recovery Drive and a Restore Point?
A Restore Point rolls your system back to an earlier working state without affecting your personal files. A Recovery Drive is a bootable USB that helps you troubleshoot, repair, or reinstall Windows when your PC can’t start normally.
Final Thoughts
In my opinion, creating a Windows Recovery Drive is one of the simplest yet most valuable steps you can take to prepare for unexpected Windows issues. While it won’t prevent problems from occurring, it can save you a great deal of time and frustration if your PC ever fails to boot or needs to be repaired. The best part is that creating one is a one-time task that only takes a few minutes. It’s also a good habit to recreate or update your Recovery Drive after major Windows feature updates, or at least once a year, so it contains the latest recovery files whenever you need it.