
With the release of iOS 18, Apple introduced several exciting new features to the iPhone, and one standout is the eye-tracking feature. This innovative addition allows you to control your iPhone using just your eyes. In this guide, I’ll Walk you through the step-by-step process to set up eye tracking on your iPhone. Keep reading to learn how to enable this game-changing feature!
Here’s how you can set up the eye-tracking feature on your iPhone with iOS 18:
Step 1: Update to iOS 18
Ensure your iPhone is running iOS 18. You can check by going to Settings > General > Software Update. If an update is available, download and install it.
Step 2: Enable Eye Tracking
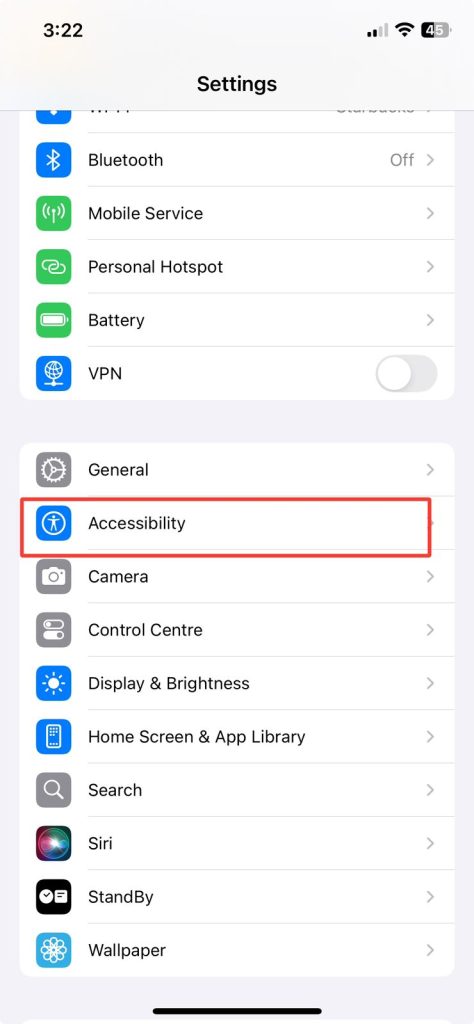
- Open the Settings app on your iPhone.
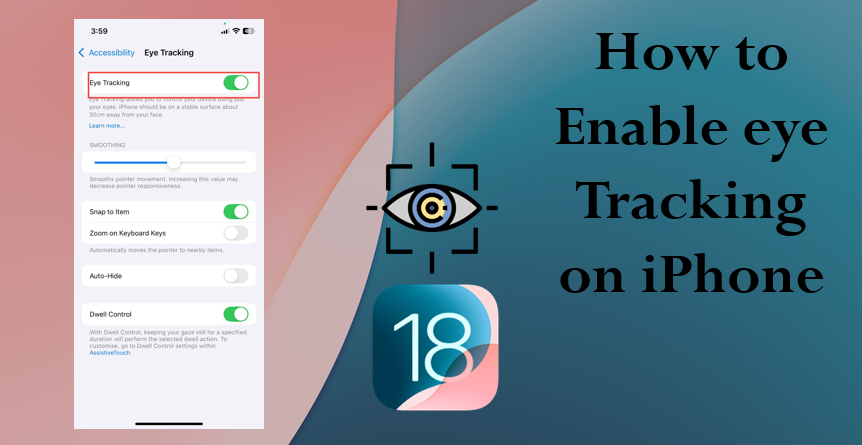
- Scroll down and tap on Accessibility.
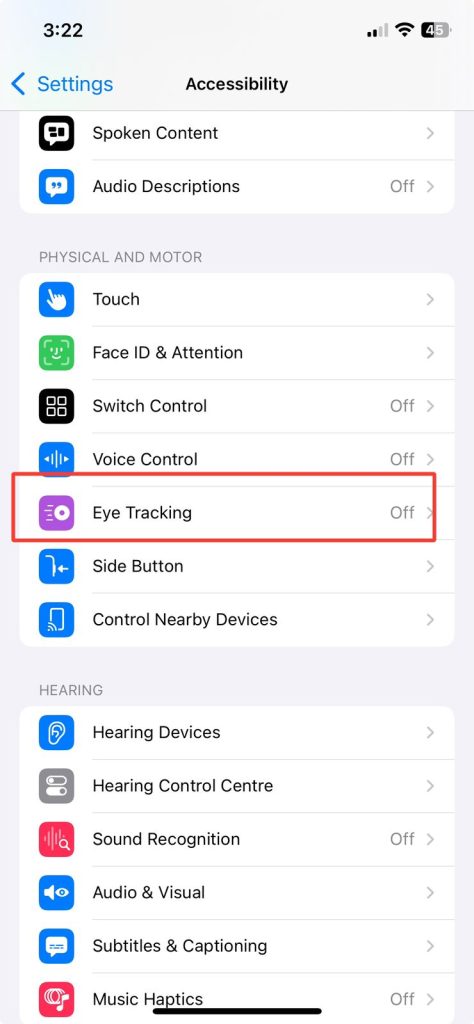
- In the Accessibility menu, select Eye Tracking under the Interaction section.
- Toggle the Eye Tracking switch to enable the feature.
Step 3: Calibrate Eye Tracking
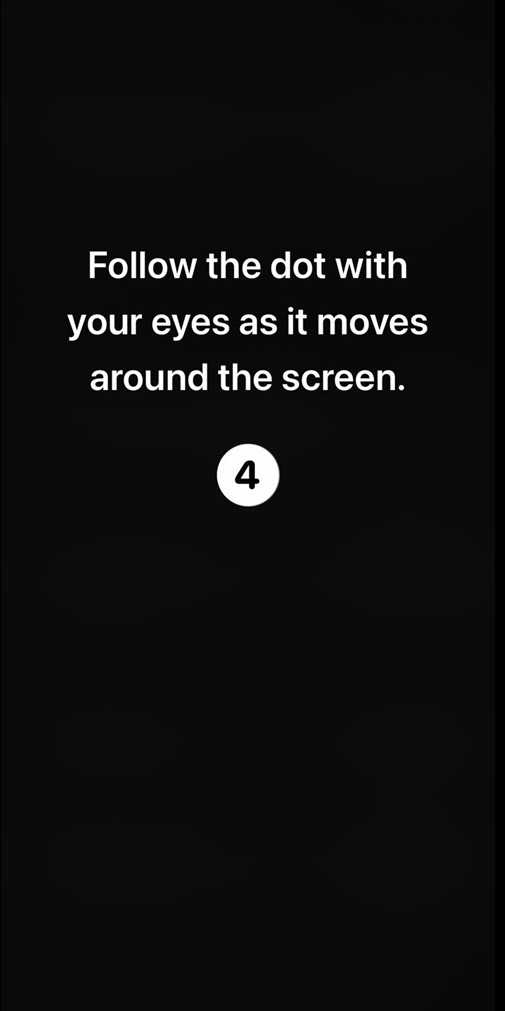
- After enabling eye tracking, follow the on-screen prompts to calibrate your eyes. The iPhone will display a series of dots or shapes to help adjust the system to your eye movements.
- Complete the calibration process by looking at the indicated areas on the screen.
Step 4: Customize Eye Tracking
Once the setup is complete, you can customize the sensitivity and interaction options:
- Go to Settings > Accessibility > Eye Tracking > Settings.
- Adjust settings like tracking speed, gaze duration, and interaction methods based on your preference.
Step 5: Start Using Eye Tracking
After setup, you can now control your iPhone hands-free by simply using your eye movements to navigate, select, and perform tasks. Enjoy this seamless and innovative experience!